How To Use Copy & Paste To Fill In A Word Template
Reasons why we recommend using copy and paste to complete label templates.
Why Should You Use Copy & Paste To Complete Label Templates?
Watch a video: this advice is also available in video format.
View our step by step How To video to learn how to complete label templates using copy and paste.
At Label Planet, we highly recommend using copy and paste to complete Word label templates. Copy and paste allows you to duplicate your design more accurately compared to setting up each label one by one. It’s also a much faster way of completing label templates.
Please note: this tip assumes you are creating label templates with a single design (or multiple copies of two or more designs). To print a different design onto each sticky label, you will need to set each one up individually.
The way you use copy and paste to complete label templates will depend on whether or not there are any gaps between your blank labels. We’ve created guides for three different A4 label layouts.
First you will need to set up your required design in the top left label. Next select your design. Place your cursor in the bottom left corner of the first label and quickly triple click the left button. This selects the content AND formatting options you have applied to your design. Finally, copy your design using the Copy icon in the Home tab at the top of the page or use a keyboard shortcut by pressing the Control Key (Ctrl) [Windows] / Command Key (⌘) [Mac] and the C key.
Copy & Paste – Label Templates With No Gaps
If there are no gaps, select the entire label template and paste into all of the blank labels in one go.
You can use this technique with any of our RECTANGULAR LABELS WITH SQUARE CUT CORNERS.
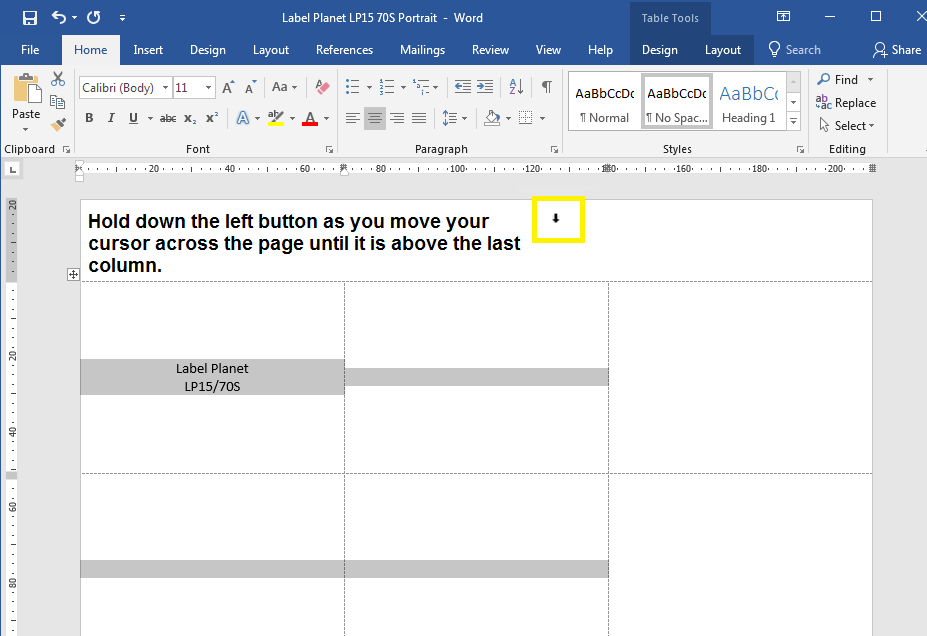
- Put your cursor above the first column until it turns into a solid black arrow pointing downwards.
- Click and hold down the left button as you move your cursor above the last column.
- Release the button and your blank labels will be highlighted by a light grey background.
- Paste your design into the cells using the Paste icon in the Home tab or use a keyboard shortcut by pressing the Control Key (Ctrl) [Windows] / Command Key (⌘) [Mac] and the V key.

Copy & Paste – Label Templates With Gaps Between Columns Only
If there are gaps between the columns of blank labels you cannot simply select the entire label template. You will end up pasting your design into the gaps as well as into the blank labels. Usually, this results in your designs being misaligned, overlapped, or both when you try to print your label template.
To use copy and paste to complete your label template, you need to select just the columns of blank labels.
You can use this technique with most of our RECTANGULAR LABELS WITH ROUNDED CORNERS.
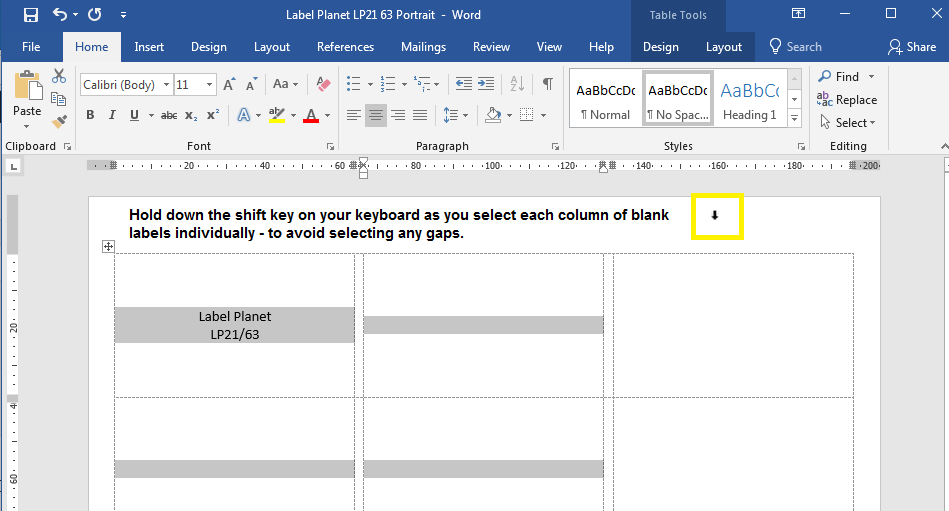
- Position your cursor above the first column of blank labels until it turns into a solid black arrow pointing downwards. Click the left button to select that column.
- Move your cursor above the second column of blank labels (NOT the gap between the first and second columns).
- Hold down the Control Key (Ctrl) [Windows] / Command Key (⌘) [Mac] on your keyboard as you left click once to select that second column. Both the first and second columns of blank labels should now be highlighted in grey to indicate they are selected. The column representing the gap between them should remain non-highlighted.
- Repeat this process for each column of blank labels.
- Paste your design into the cells using the Paste icon or the keyboard shortcut.

Copy & Paste – Label Templates With Gaps Between Columns & Rows
If there are gaps between the columns AND rows of blank labels, you could complete your label template by pasting your design into each label. This is fine for label templates with only a few blank labels per sheet but becomes a time consuming process with smaller label sizes.
We recommend using copy and paste (and a careful selection process) to fill in groups of blank labels and so speed up the process of completing your label templates.
You can use this technique with our ROUND LABELS, OVAL LABELS, and SQUARE LABELS.
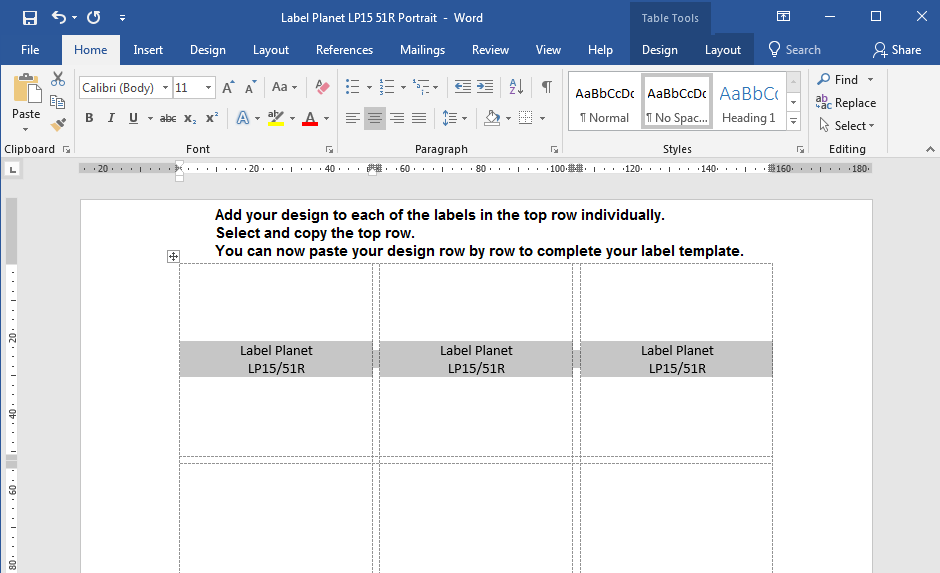
- Paste your design into each of the blank labels in the top row individually. Left click inside each blank labels and use the Paste icon or keyboard shortcut to add your design. Repeat this for each blank label in the top row.
- Next select the top row – including the blank labels and the gaps. Position your cursor inside the first label. Click and hold down the left button as you drag your cursor inside the last label in the row. Release the button and the top row should now be highlighted in grey to indicate it has been selected.
If your design fills your blank labels you may end up selecting your design rather than the blank label. In this case, left click inside the gap below the first label in the top row. Use the up arrow key on your keyboard to move the cursor inside the first label. Hold down the shift key on your keyboard and use the right arrow key to move your cursor into the last label in the top row. - Copy the top row using the Copy icon or the keyboard shortcut.
- Now left click once inside the first label in the second row. Use the Paste icon or the keyboard shortcut to paste your design into that entire second row. Repeat this process with the first label in each of the rows of blank labels in your label template until it is complete.

 Label Planet